Welcome to the
May Pals Hop! Today our group of papercrafters will be showcasing projects featuring two big days -- Father's Day and Graduation. If you've hopped over from the marvelous
Mike Funke's
Stampin' Style, you're in the home stretch as I'm stop number 10. We hope you "hop along" from blog to blog where you'll find inspirational ideas for papercrafted creations showcasing all that Stampin' Up has to offer. Should you hop off course, simply click on any links in the Pals Hop Line-up below and you'll be back on track! We're thrilled to have you visit and please feel free to leave as many comments as you'd like telling us what you think...there are 11 blogs in all. Happy Hopping!
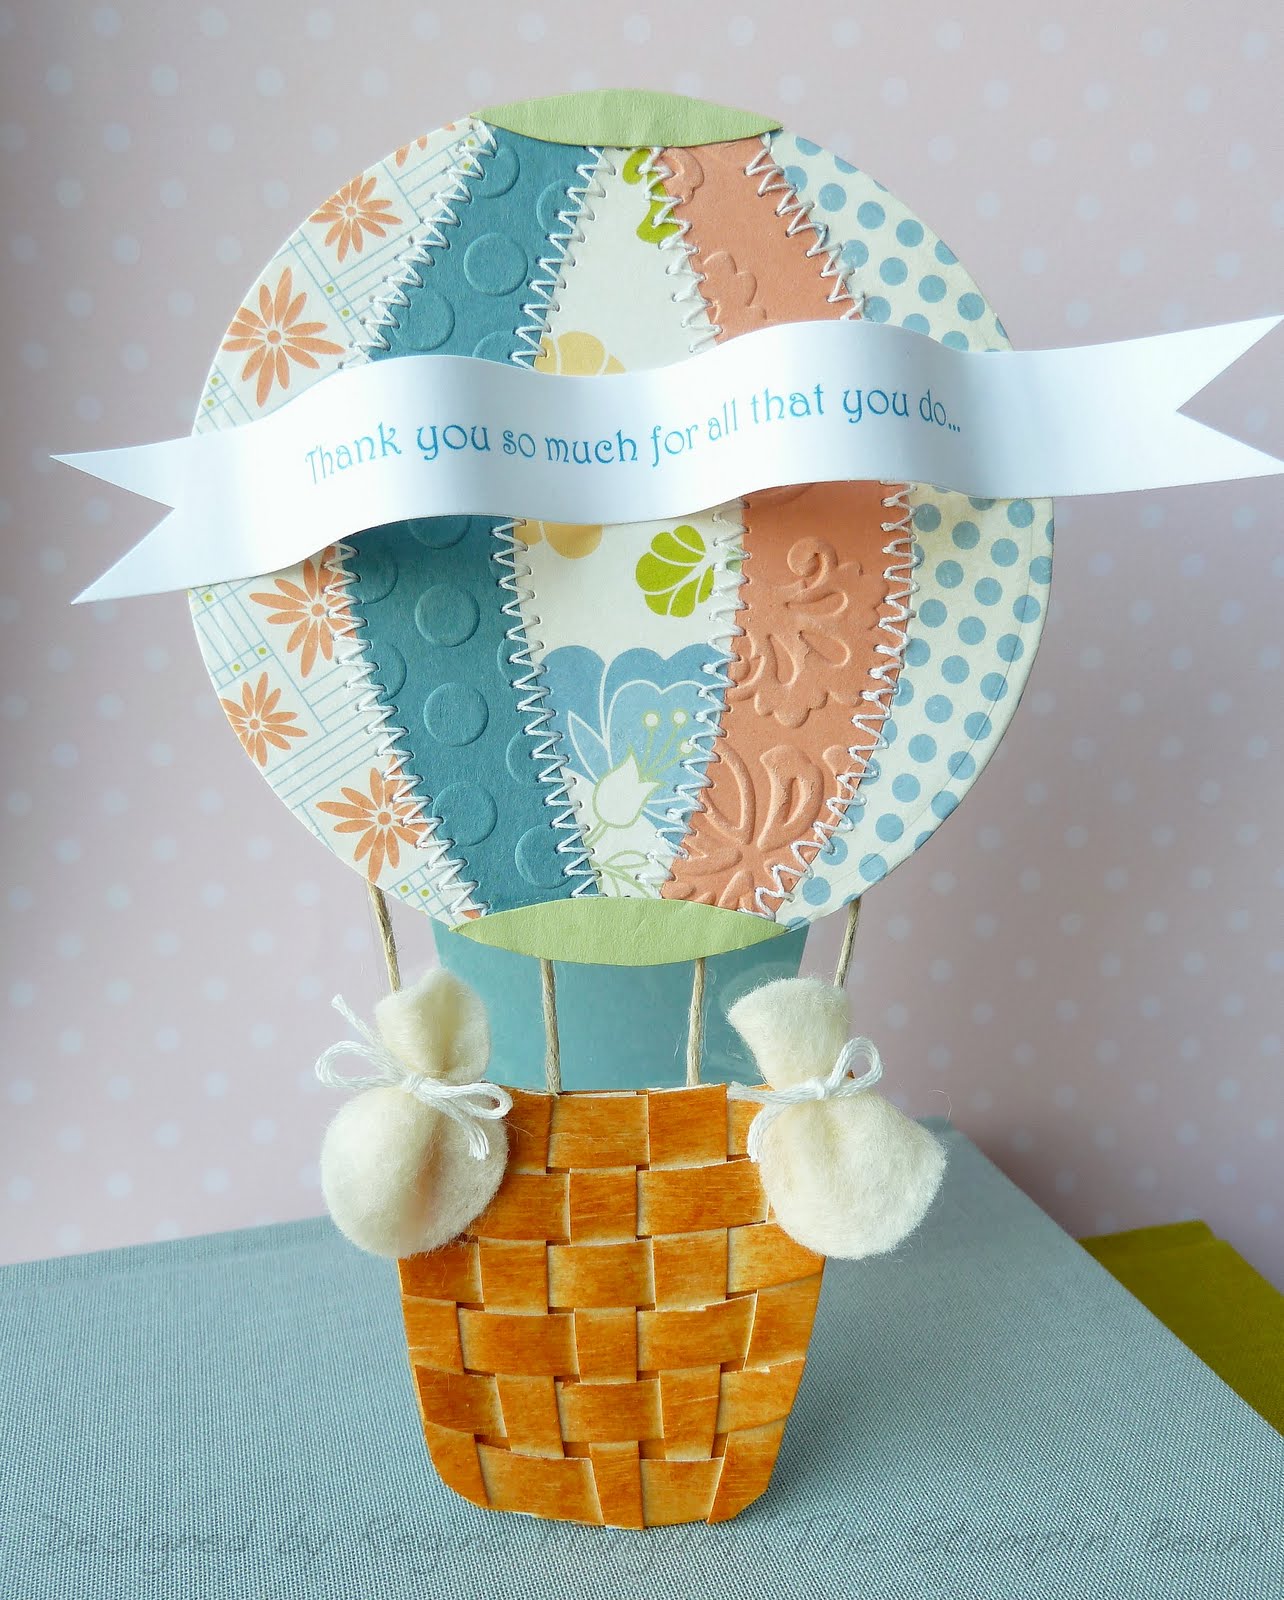
To view an image up-close, please click on the photo.

Any regular reader of TSB knows that I am a "punch-a-holic"! For my Pals Hop projects, I decided to once again showcase how wonderful these nifty tools can be. I've created three very different Father's Day cards for three very different dads. Masculine cards can sometimes be a challenge, and I find it helps to think about what kind of guy I'm creating for.
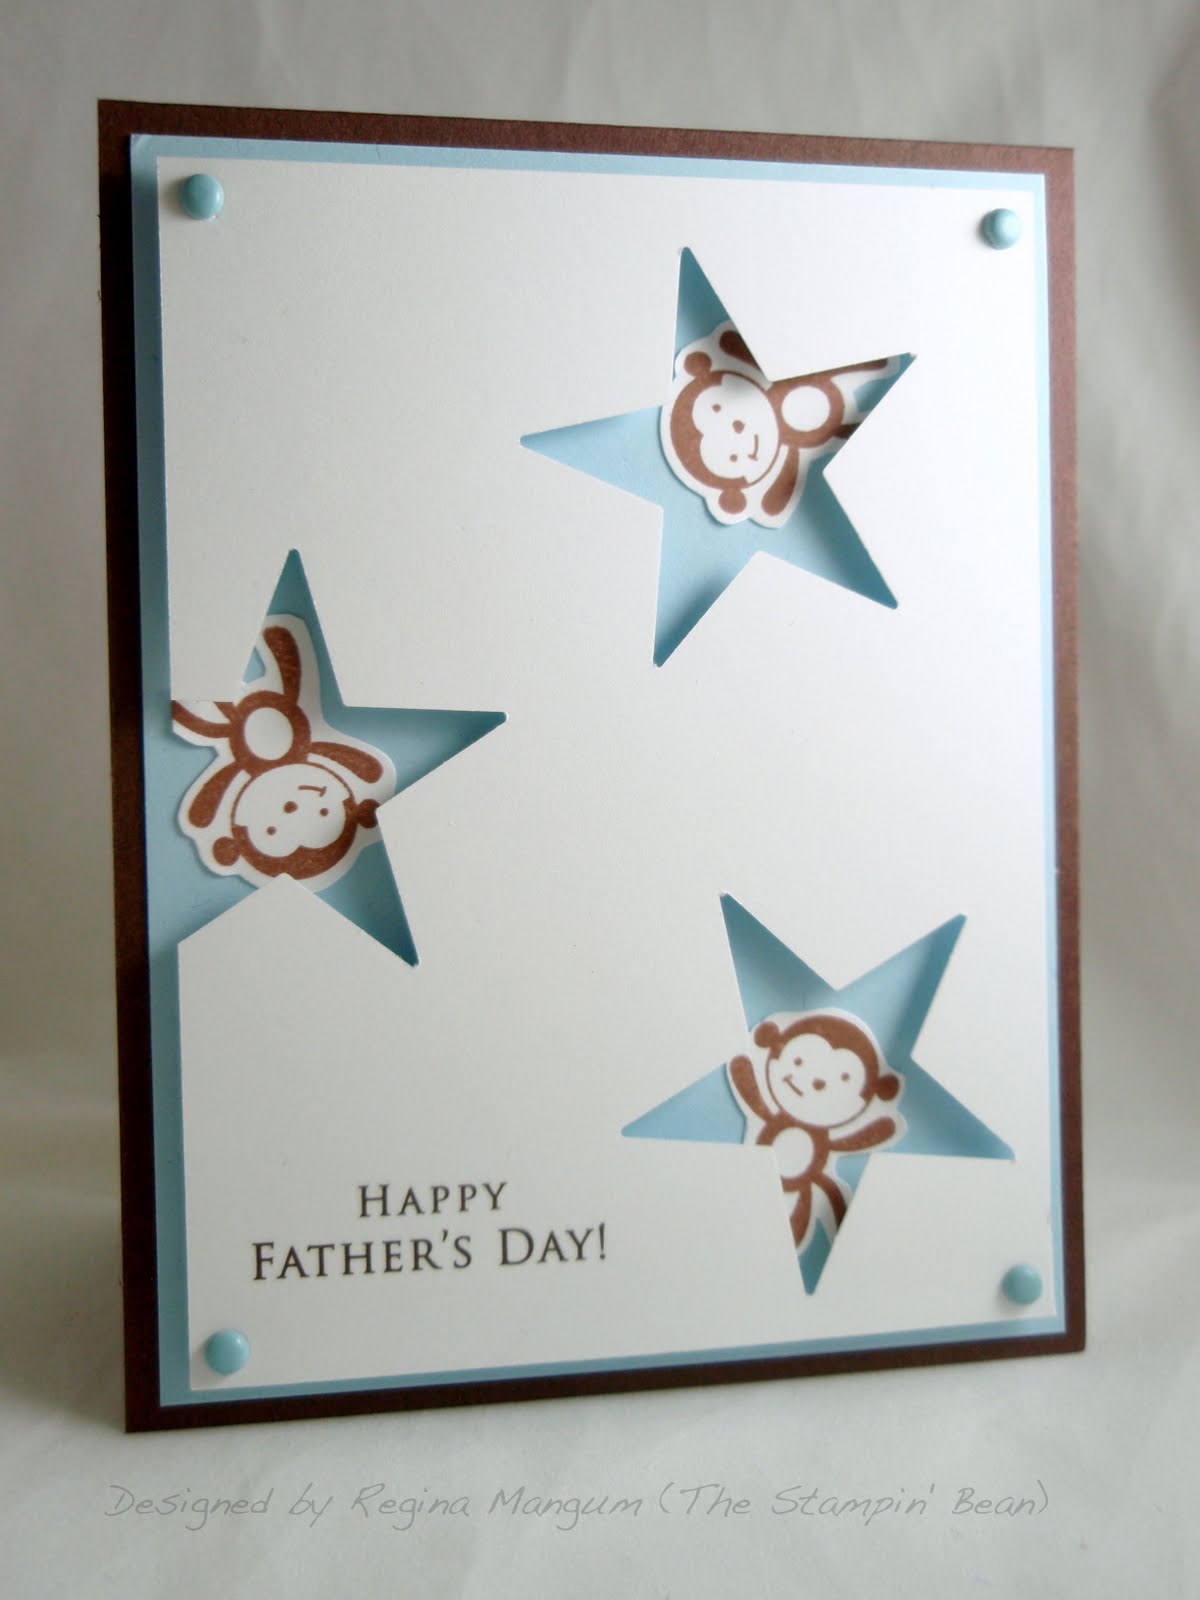
The first of my Dad's Day trio is for the "new" dad, of which my own hubby still qualifies, as our rugrat is still a toddler. They have a fun, rough and tumble relationship, so for this card, I thought a few cute monkeys would be just the thing. I should also point out that this card, start to finish, took 15 minutes, and you could certainly substitute any number of images for the little monkeys! The Large Star Punch worked perfectly here. (Bean Tip: cut your sheet of white cardstock to 3-3/4" x 5" to allow for the 'reach' of the punch) I punched out three stars in random locations. Next, I stamped the monkey image three times in Close to Cocoa and cut around each before adhering onto a piece of Bashful Blue, which I had already attached to my Close to Cocoa card base. After attaching some matching brads, I popped up the star sheet over the little monkeys, allowing them to peek out through each punched star. A quick and easy rub-on completed this simple card for a terrific daddy.
BEAN NOTES: (Unless otherwise noted, all materials are Stampin' Up) Fox & Friends Stamp; Chit Chat Rub-On; Close to Cocoa Classic Dye Ink; Close to Cocoa, Bashful Blue, and Whisper White Cardstock; Blue Brads (generic); Foam Dimensional Squares HAPPY BEANS: Large Star Punch**To order these or any other current Stampin' Up products, please email me HERE.
For the second of my fatherhood duo, I created something for the "classy" dad. First, I used SU's Harlequin Texturz Impression Plate and ran some Basic Black cardstock through my Big Shot. Next, using a glitter pen, I turned the impression into some fancy argyle. Using the modern label piece of the Movers & Shapers XL Die, I then die-cut the shape from the middle of the background piece. Using some nice bright Real Red, I stamped the simple sentiment and punched it out using the coordinating Modern Label Punch and popped it out with dimensionals. Finally, I added a chic red satin ribbon and I had a card for a father who enjoys the good things in life!
BEAN NOTES: (Unless otherwise noted, all materials are Stampin' Up) Teeny Tiny Wishes (sentiment); Real Red Classic Dye Ink; Real Red, Whisper White, and Basic Black Cardstock; Harlequin Texturz Impression Plate; Movers & Shapers XL Die and Modern Label Moveable Piece; Modern Label Punch; Foam Dimensional Squares (generic); Real Red Satin Ribbon
HAPPY BEANS: Glitter Pen (generic)**To order these or any other current Stampin' Up products, please email me HERE.
My third card was created with a more "guy's guy" dad in mind. I started with creating the letter tags, which was very easy to do with the large and small Tag Punches. I stamped with some Craft Ink and embossed with clear embossing powder to bring out each letter from the
Defining Alphabet set. Next, I cut out each with scissors and a hobby blade. Then I punched a small hole in each blue tag and tied on a bit of embossing floss. To make the background, I used the wonderful Sanded background stamp in Night of Navy and then glued down some strips of matching cardstock for some visual interest. Finally, I popped up my finished tags to spell out this three-letter word that really says it all.
BEAN NOTES: (Unless otherwise noted, all materials are Stampin' Up) Defining Alphabet (sentiment) and Sanded Stamps; Night of Navy Craft Ink; Clear Embossing Powder (generic); Night of Navy, Whisper White, and Bashful Blue Cardstock; Small and Large Tag Punches; Foam Dimensional Squares (generic); 1/16" Hole Punch (generic) HAPPY BEANS: White Embroidery Floss (generic)**To order these or any other current Stampin' Up products, please email me HERE.More inspiring ideas await you at Sumaiyah Yates's
Stampin' Dymonz, stop number 11 on the Pals Hop. Hop on over and see Sumaiyah's creative ideas. Click on any of the sites listed below to begin the Pals Hop.
1. Barbara Furlong -- The Love of Stamping
2. Debbie Pierce -- Stampin' Sunshine
3. Gina Shaw -- Cards by Gina
4. Jason Casper -- Jason's Stampin' Pad
5. Joanna Munster -- Inspired by Stampin'
6. Kylie Nicolosi -- Kylie's Crafty Corner
7. Martha Stewart -- Seasons of Stamping
8. Mary Fish -- Stampin' Pretty
9. Mike Funke -- Stampin-Style
10. Regina Mangum -- You are HERE!
11. Sumaiyah Yates -- Stampin' Dymonz


 Normally, I LOVE sketch challenges. They are such a terrific way to get the creative juices flowing and often times they end up doing half the work! This week's Friday Challenge should have been, well, not easy, but at least not the head-scratching time I had. The sketch is great for its simplicity, but the trick was to decide what I wanted to put in that large circle element!
 Finally, after a few hours of fretting, I settled on this lovely kaleidoscope image, which I stamped twice and carefully colored in with Copics. I cut out one of the images and snipped all the way around it toward the center. Next I bent and curled each "petal" until the middle was pushed in and the petals curved outward. I also cut out the center of my second image and popped that up with a pretty rhinestone accent. After gluing the petaled image down on its twin, I was left with a wonderfully 3-dimensional "flower."
  I stamped and die-cut a matching frame as well. For the rest of the card, I really wanted the kaleidoscope to be the main focus, so I stuck with a mostly white card base, only embossing it with tiny dots for some visual contrast. I tied some organza ribbon and strung it across and added a simple sentiment to finish off a difficult card which I was ultimately very pleased with!